Adding webhooks to connect with external systems
About this piece
This user guide was written for our technical and non-technical customers to introduce webhooks and explain the set up process. The goal was to provide a starting point for customers interested in extending their product's functionality, which is why conceptual information and use cases were included. But shouldn't articles do one thing only?Webhooks are used to extend the functionality of Customer Help and Live Support through interaction with an external service. You can register your own webhook URL, allowing you to integrate your systems with Support and customize the webhook’s actions.
Use webhooks to:
- Manage ticket data in an external database, such as reporting software.
- Get real-time notifications and collect data around user activity
- Integrate services that manage agents’ work processes, such as timetables.
- Retrieve and update user information, such as contact details, across you entire system.
How do webhooks work?
A webhook is an HTTPS request to an external system. When triggered, the webhook sends data to the external system, which can store it, process it, or respond with new data based on the received information. The data being sent and received is called a Payload.
A webhook occurs when an event happens — a ticket is assigned, a message is sent, or a ticket is moved to a new queue.
Setting up a webhook requires technical information from the external system. You can find Nilquist’s technical requirements for webhooks in our Docs page:
Important: Nilquist API is for advanced use. If you need more assistance, consult your technical team.
Configure a webhook
To manage webhooks for Customer Help and Live Support:
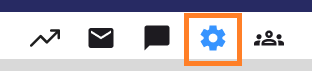
- Click the Settings icon in the top navigation menu.
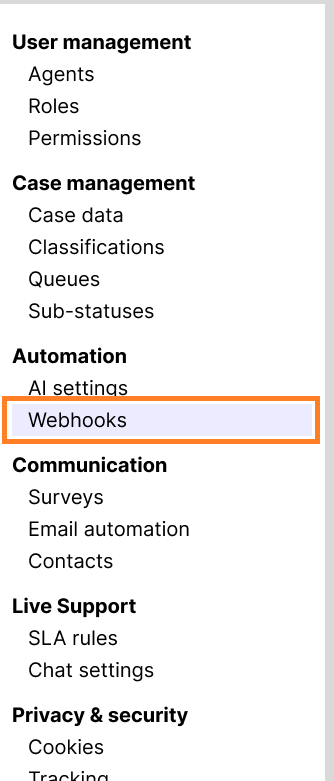
- Select Automation > Webhooks from the left-hand menu.
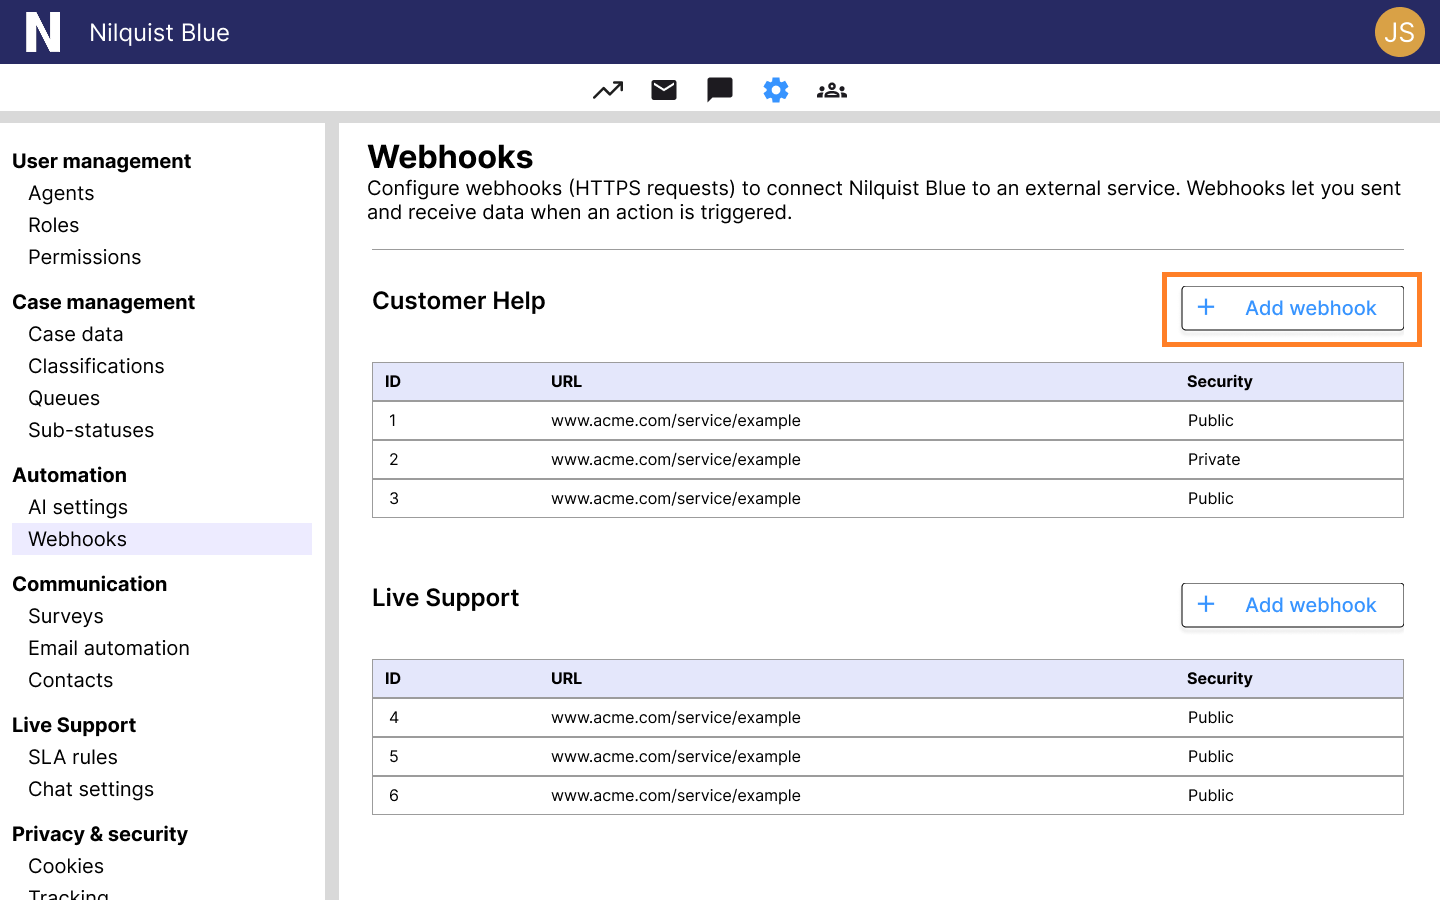
In Customer Help, you can create two types of webhooks:
-
Customer Help webhooks are triggered by events related to tickets, such as creating a ticket.
-
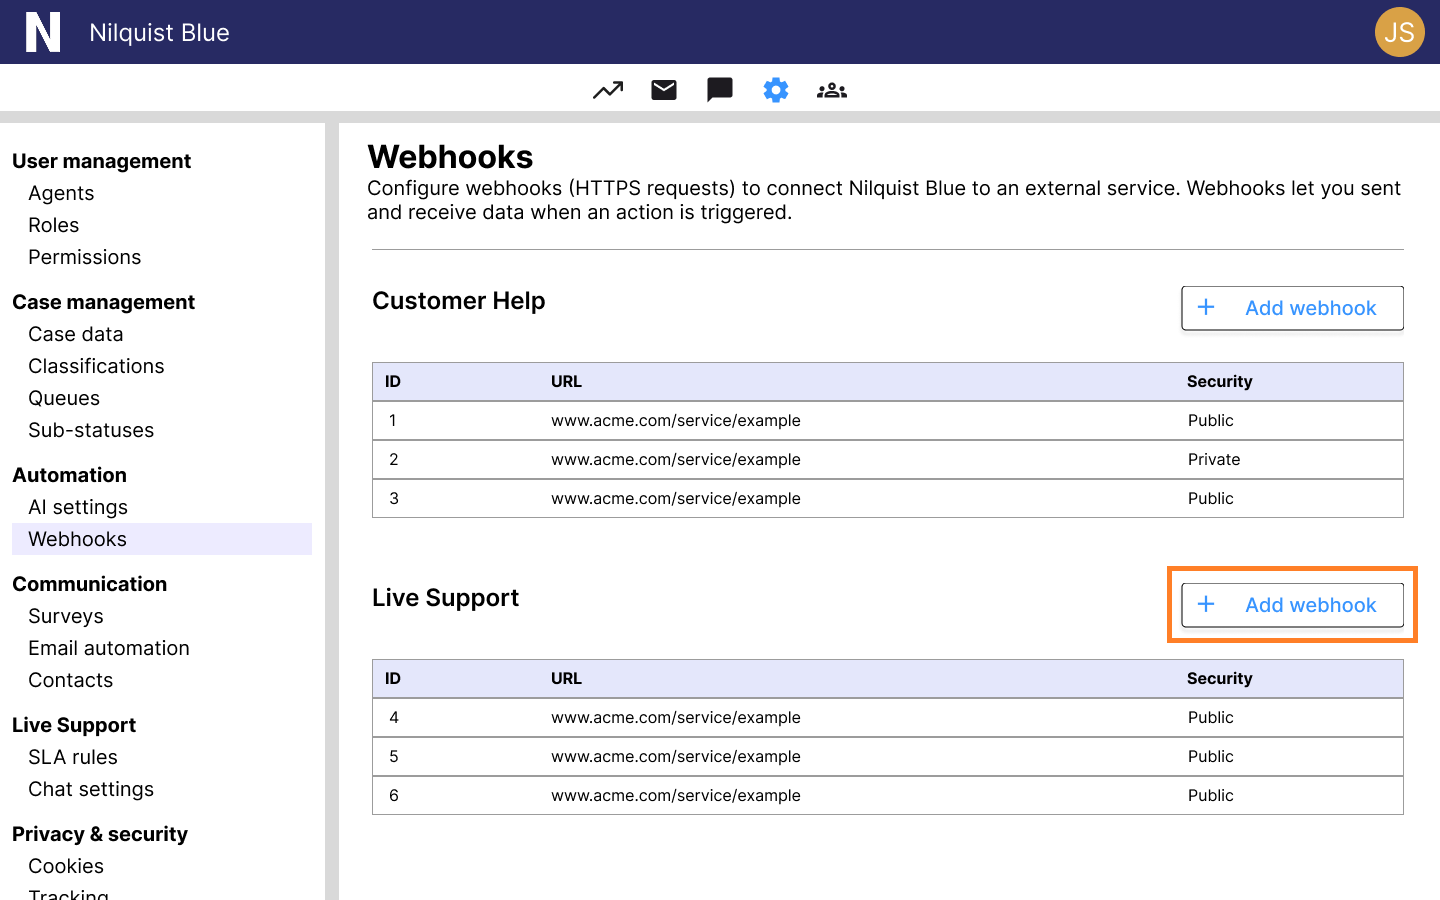
Live Support webhooks are triggered by events related to Live Support, such as joining a chat.
Select an option below to learn how to add a Customer Help or Live Support webhook.
Add a Customer Help webhook |
|
Customer Help webhooks connect your instance to an external service. Events that can trigger a webhook include:
To add a global webhook:
There are technical requirements to set up webhooks for Customer Help. Consult with your technical team, and refer to the Developer's Portal for more information. |
Add an Live Support webhook |
|
Live Support lets agents have real-time chat conversations with users. Webhooks specific to Live Support can customize this experience. Events that can trigger a webhook include:
To add a Live Support webhook:
Important: Do not set up more than one webhook for the same event or source. If there is a conflict, only one webhook is used and others are ignored. There are technical requirements to set up webhooks for Live Support. Consult with your technical team, and refer to the Developer's Portal for more information. |
Examples
Since webhooks allow you to tie in an external system, you can use them to do nearly anything. Select an example below.

Assign chats using an external algorithm |
|
You want to set up a smart system that assigns Live Support chats to agents based on their qualifications and certificates. You configure an Agent Chat webhook for the Assign chat event.
|

Integrate Customer Help with a Business Intelligence (BI) system |
|
You want to keep all your ticket-related data in an external BI system for better analysis. You can set up a webhook to send this data automatically.
|